In this tutorial we’ll walk through building a treatment plan, focusing on treatment point selection.
As you’re looking through the patient’s graph, you’ll see the treatment recommendations at the bottom of the screen.
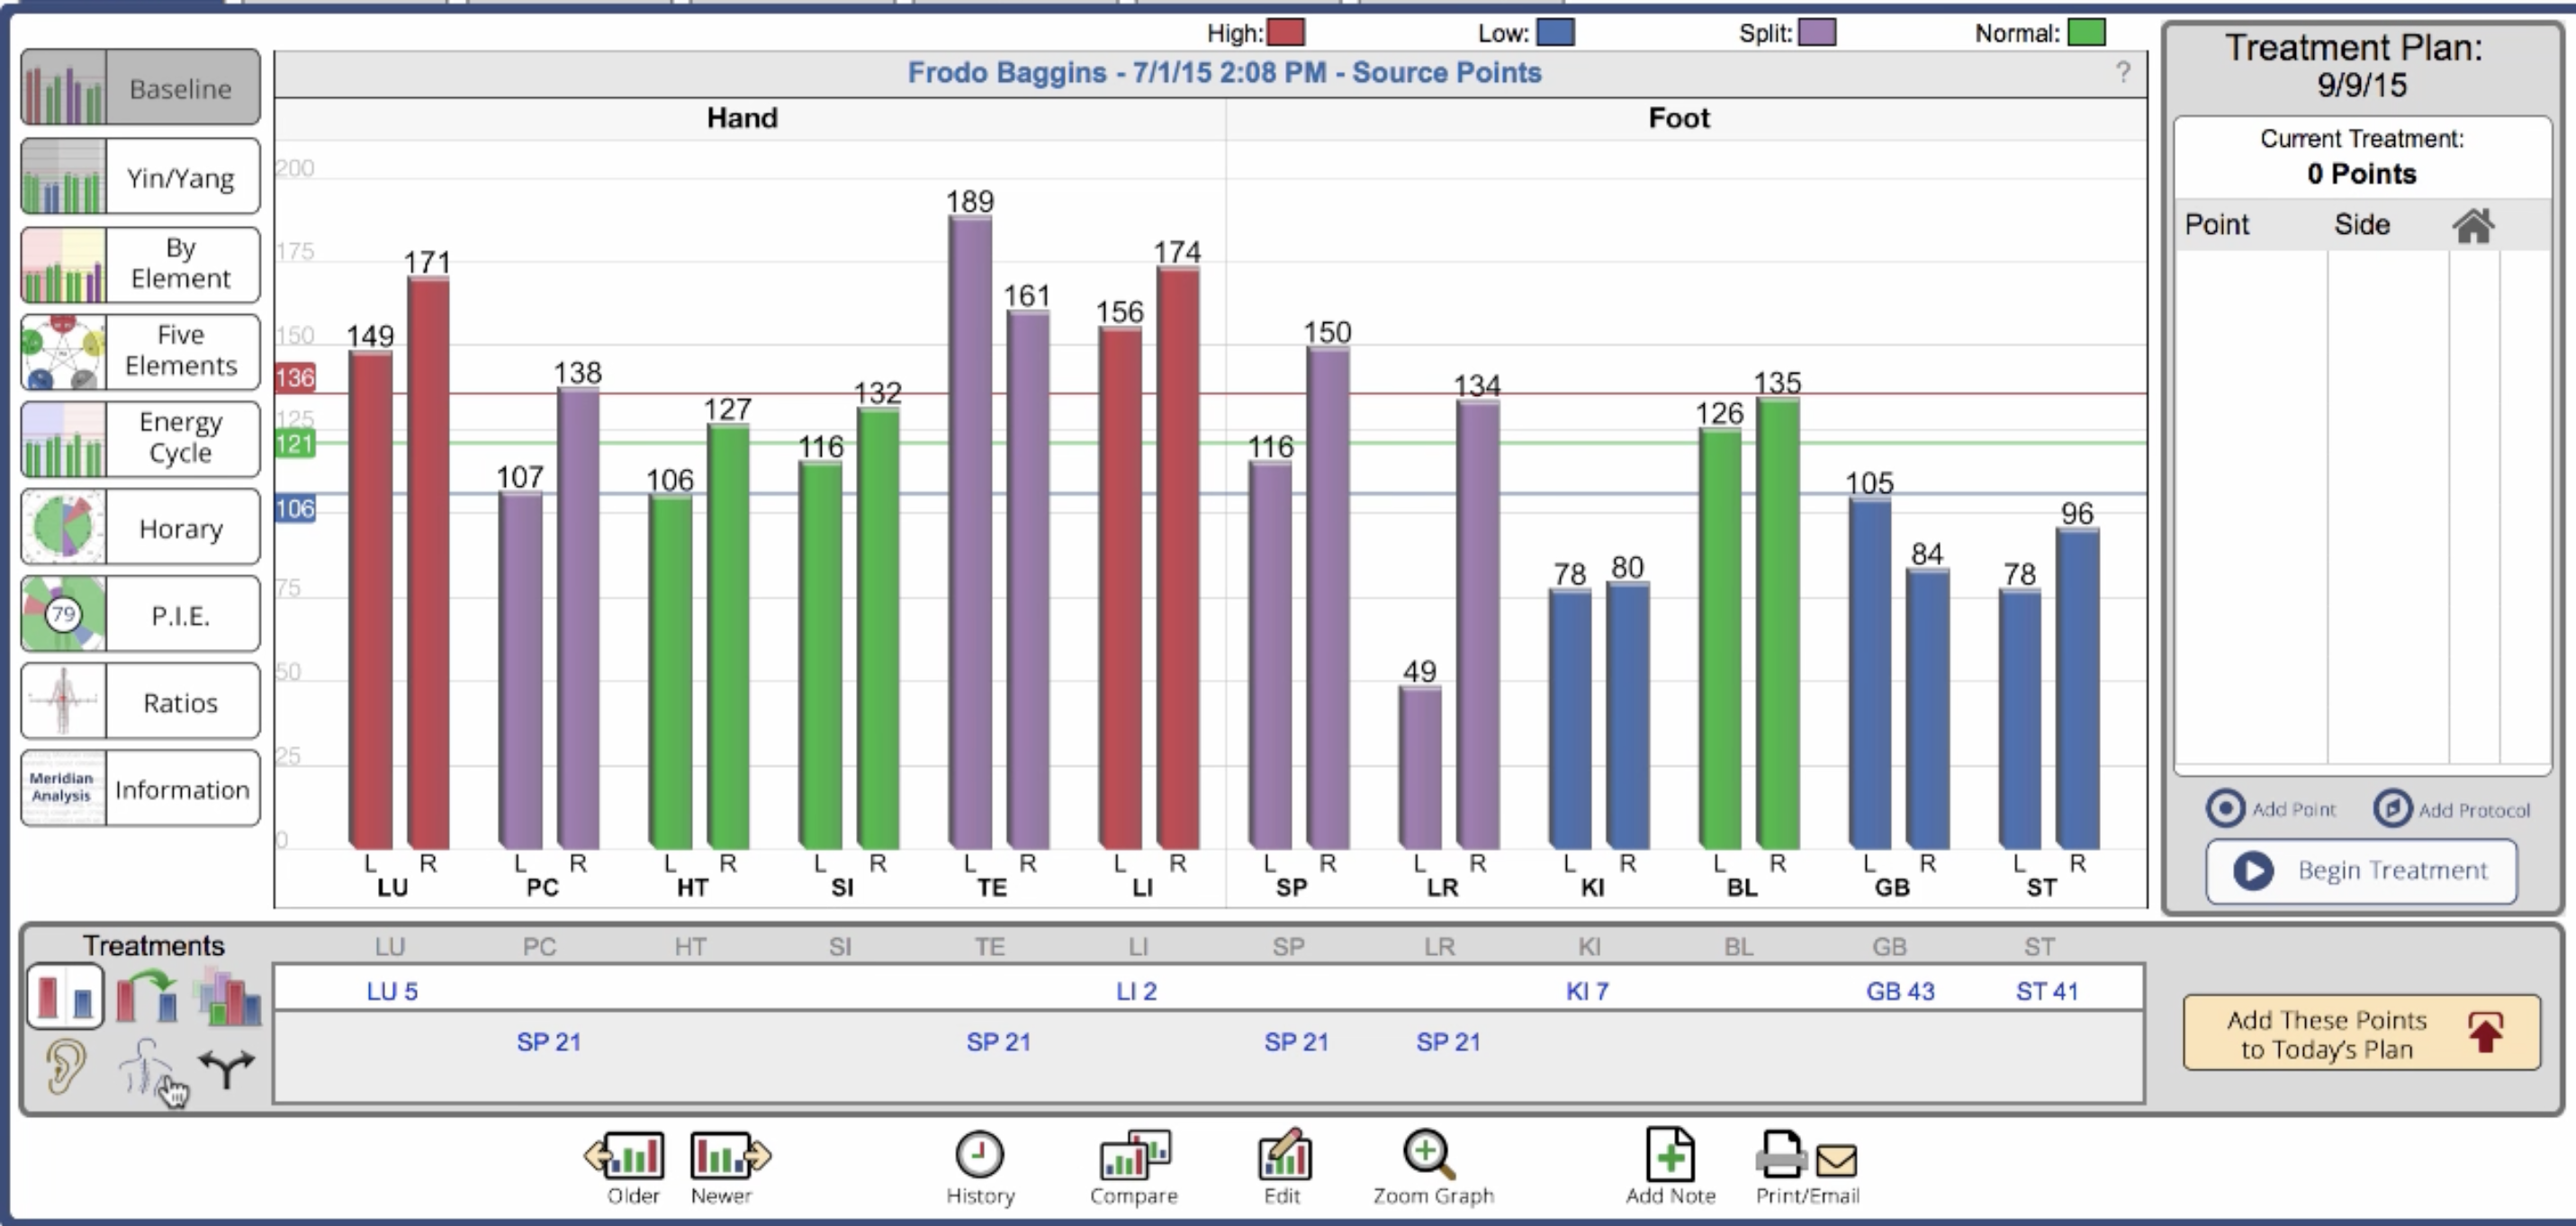
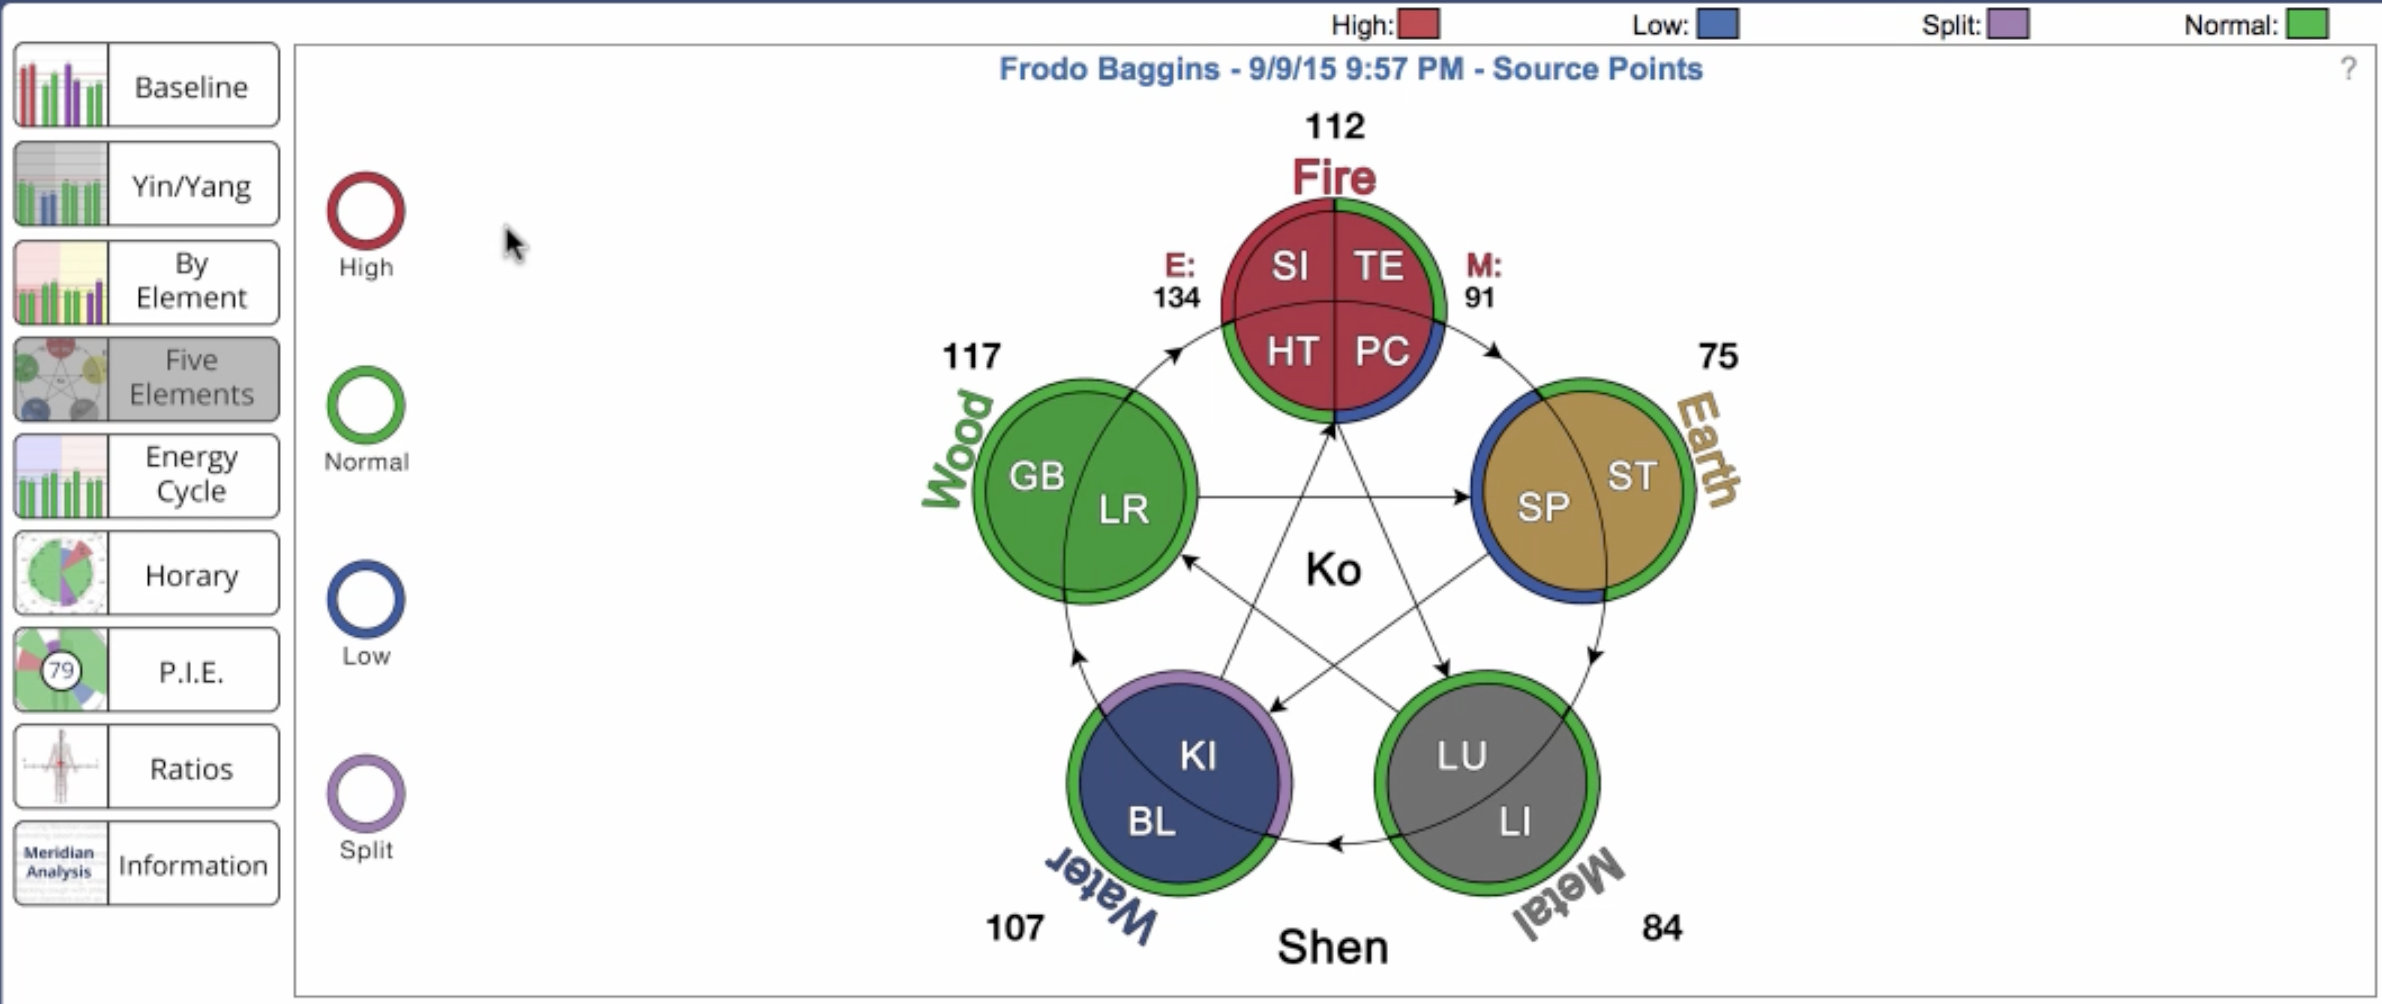
Basic Treatment
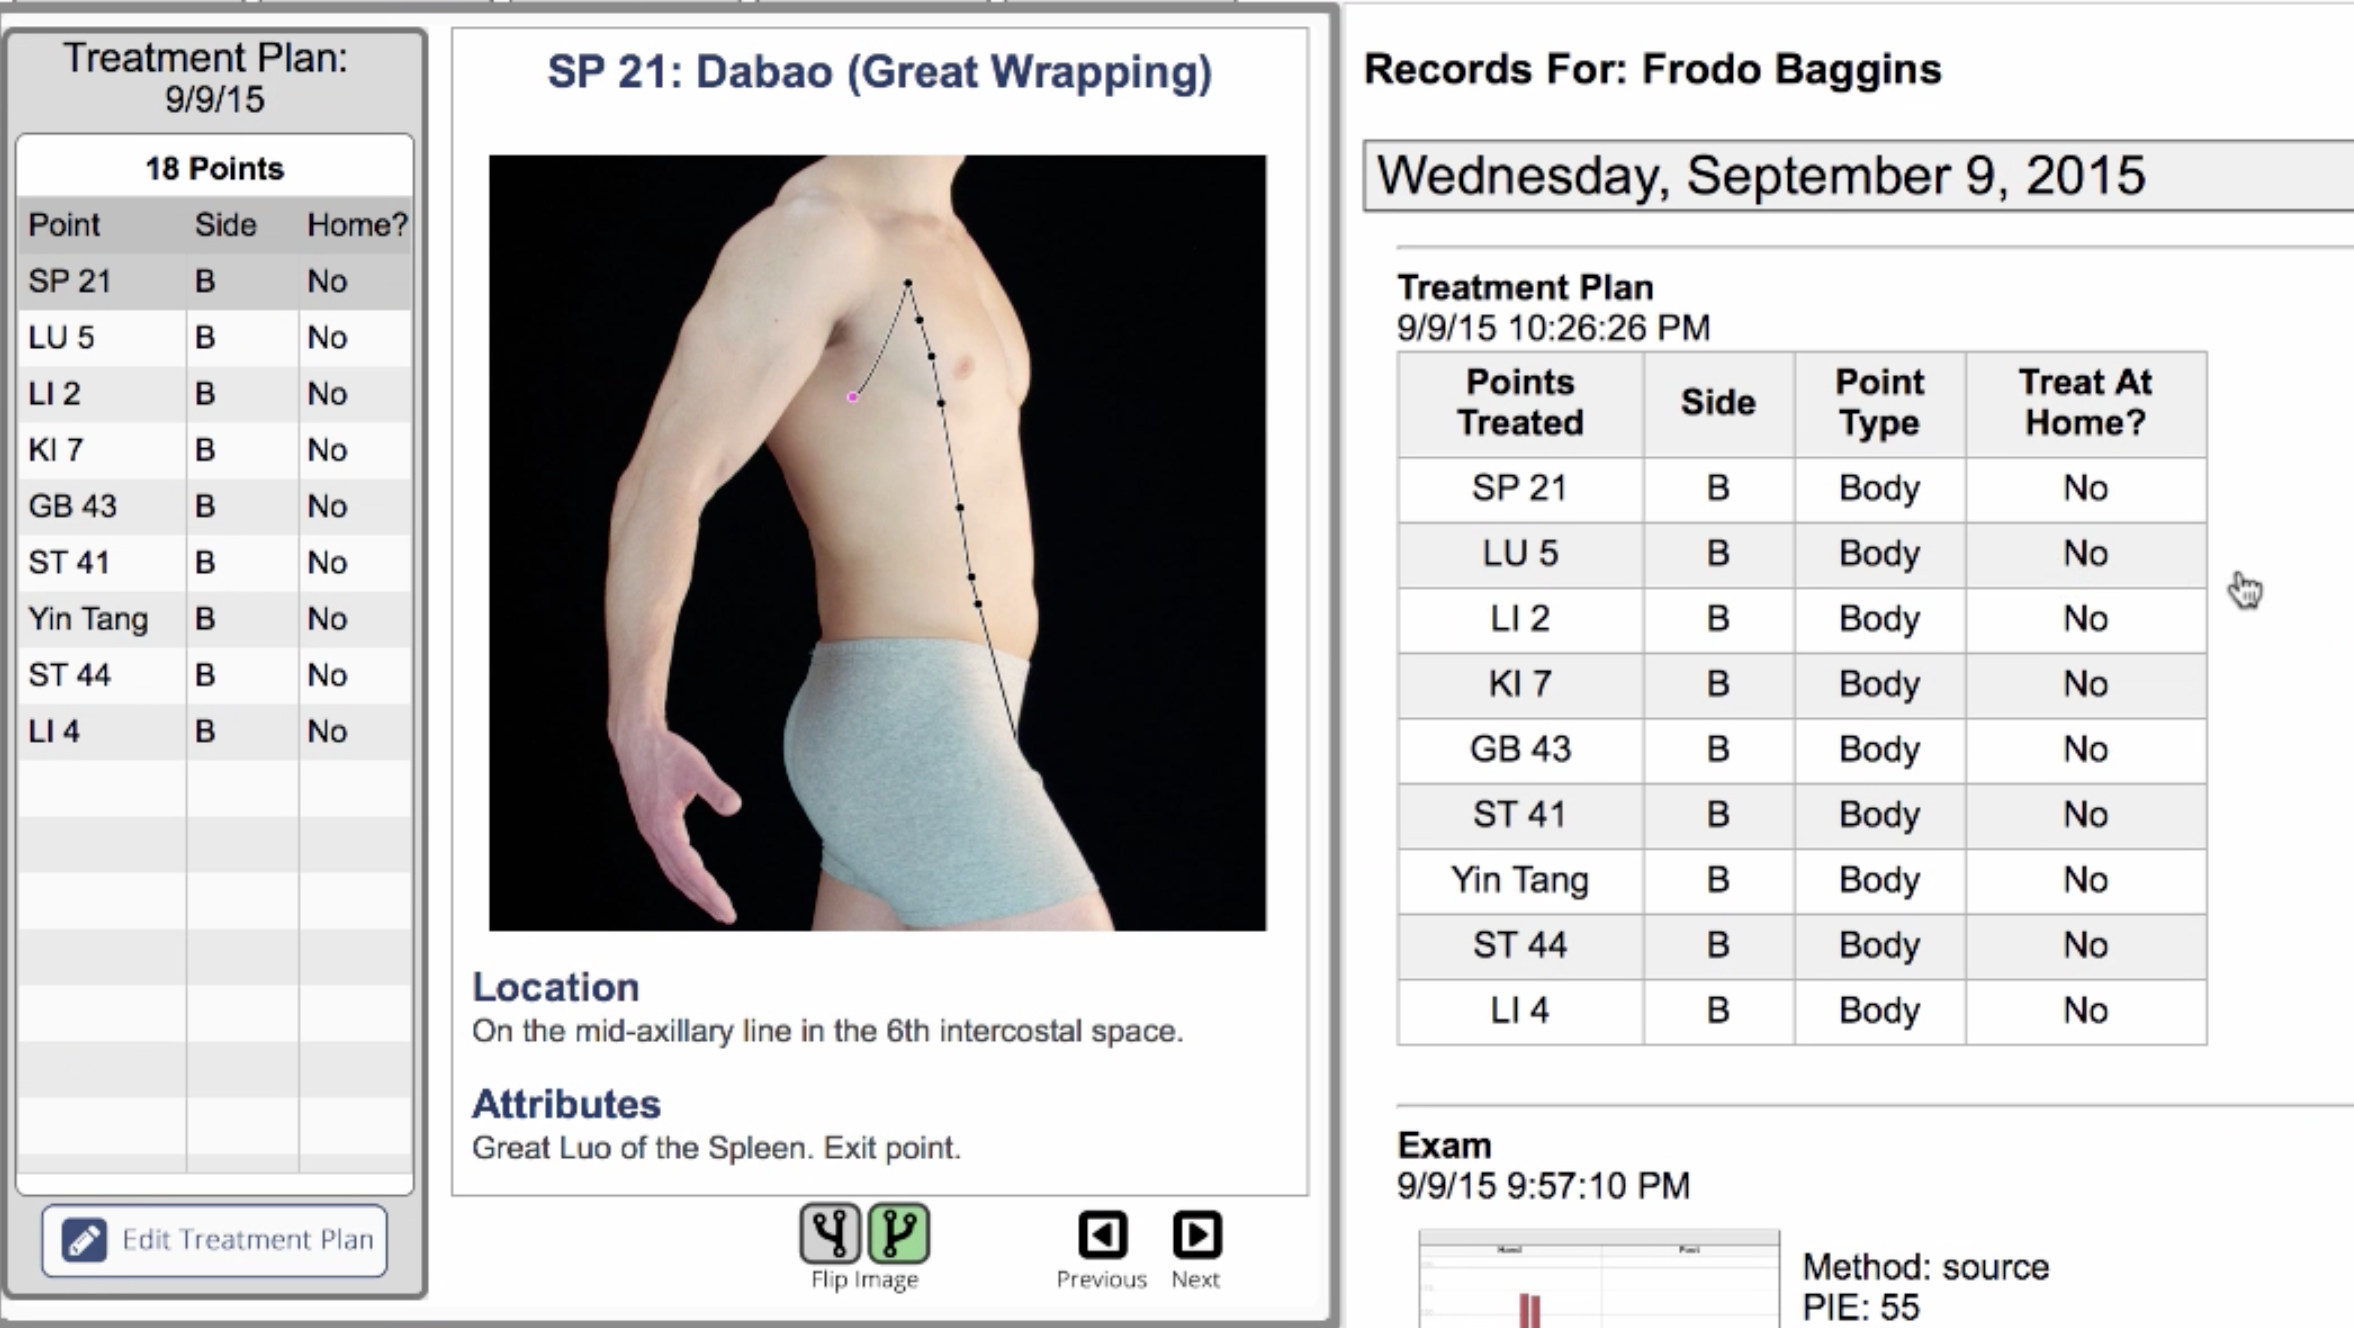
The white square that is highlighted is the Basic treatment protocol, and all the points that are recommended (showing below the channel) are part of the basic protocol.
![]()
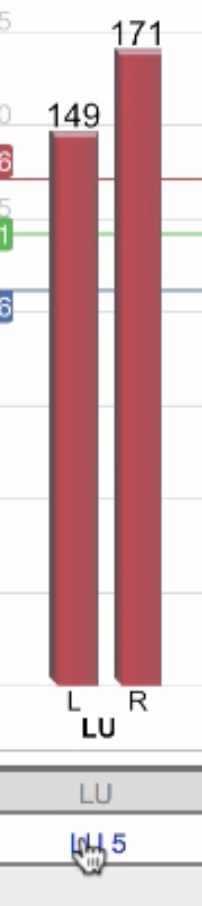
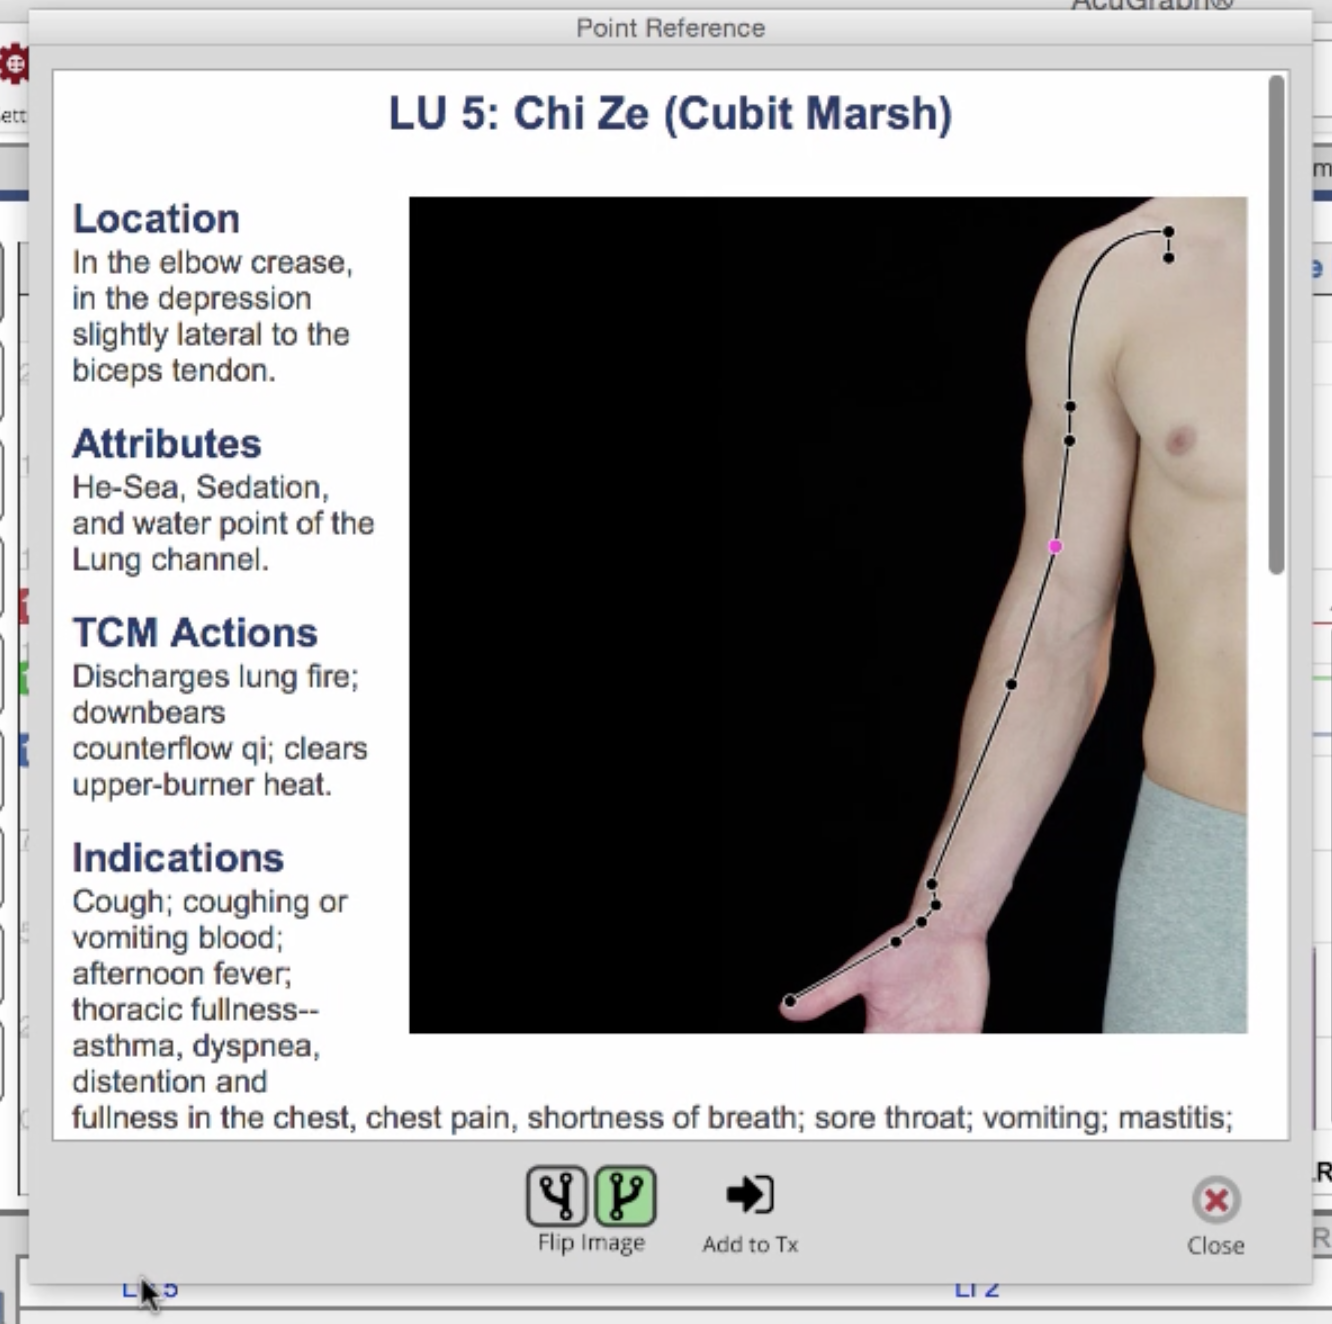
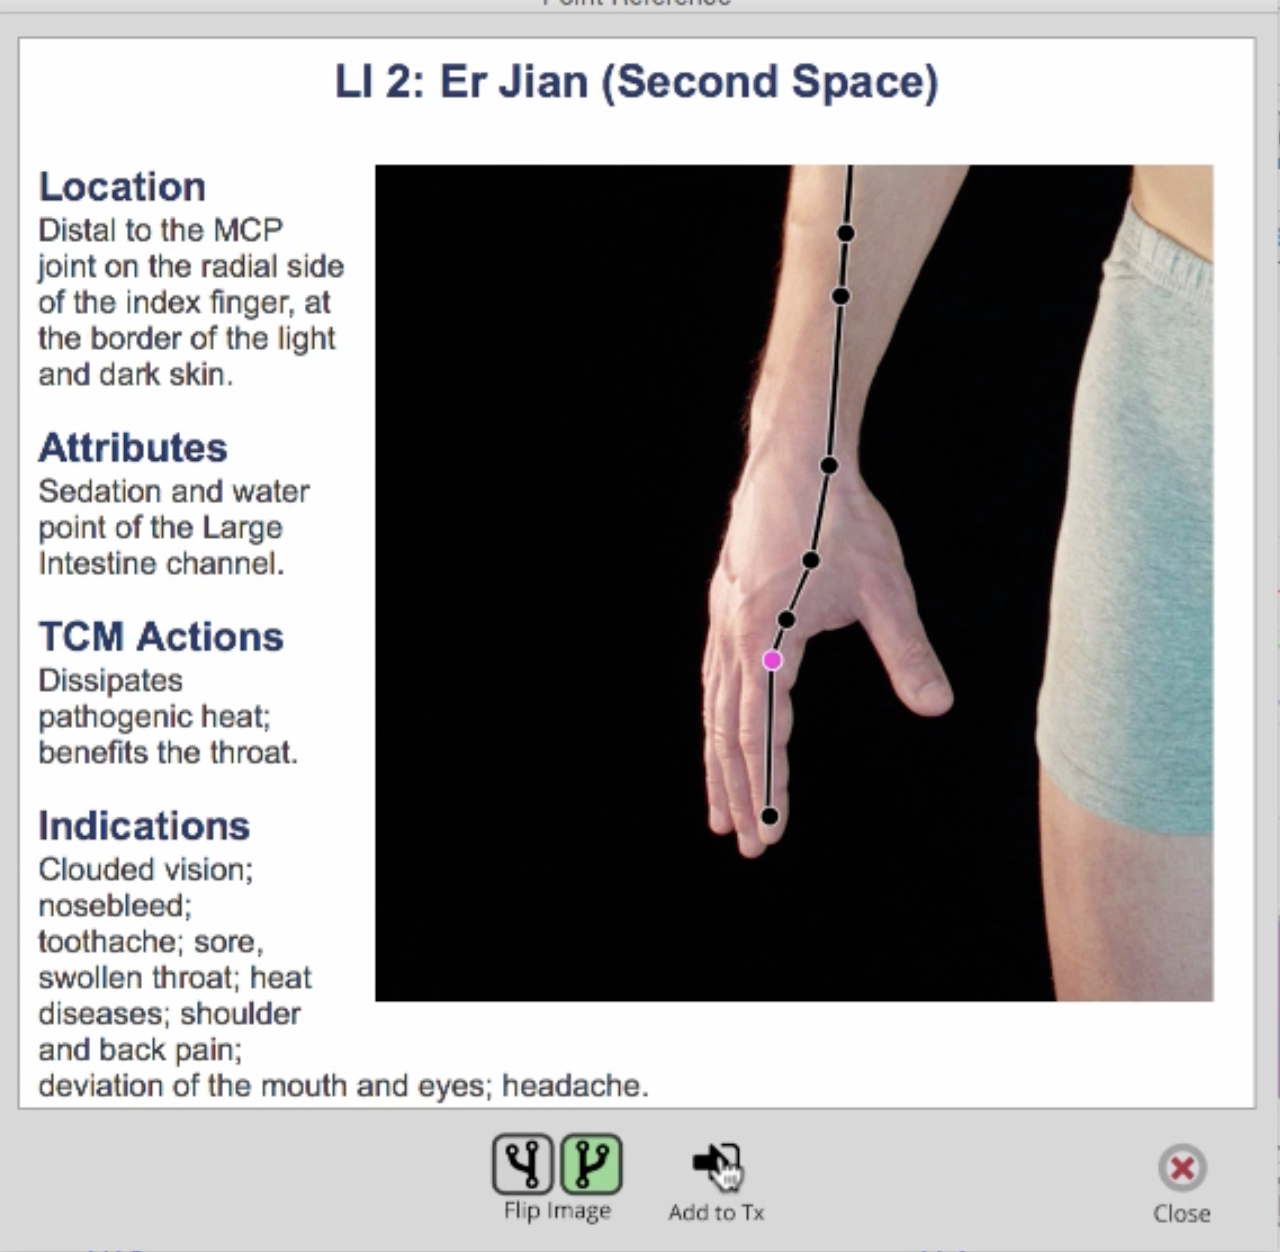
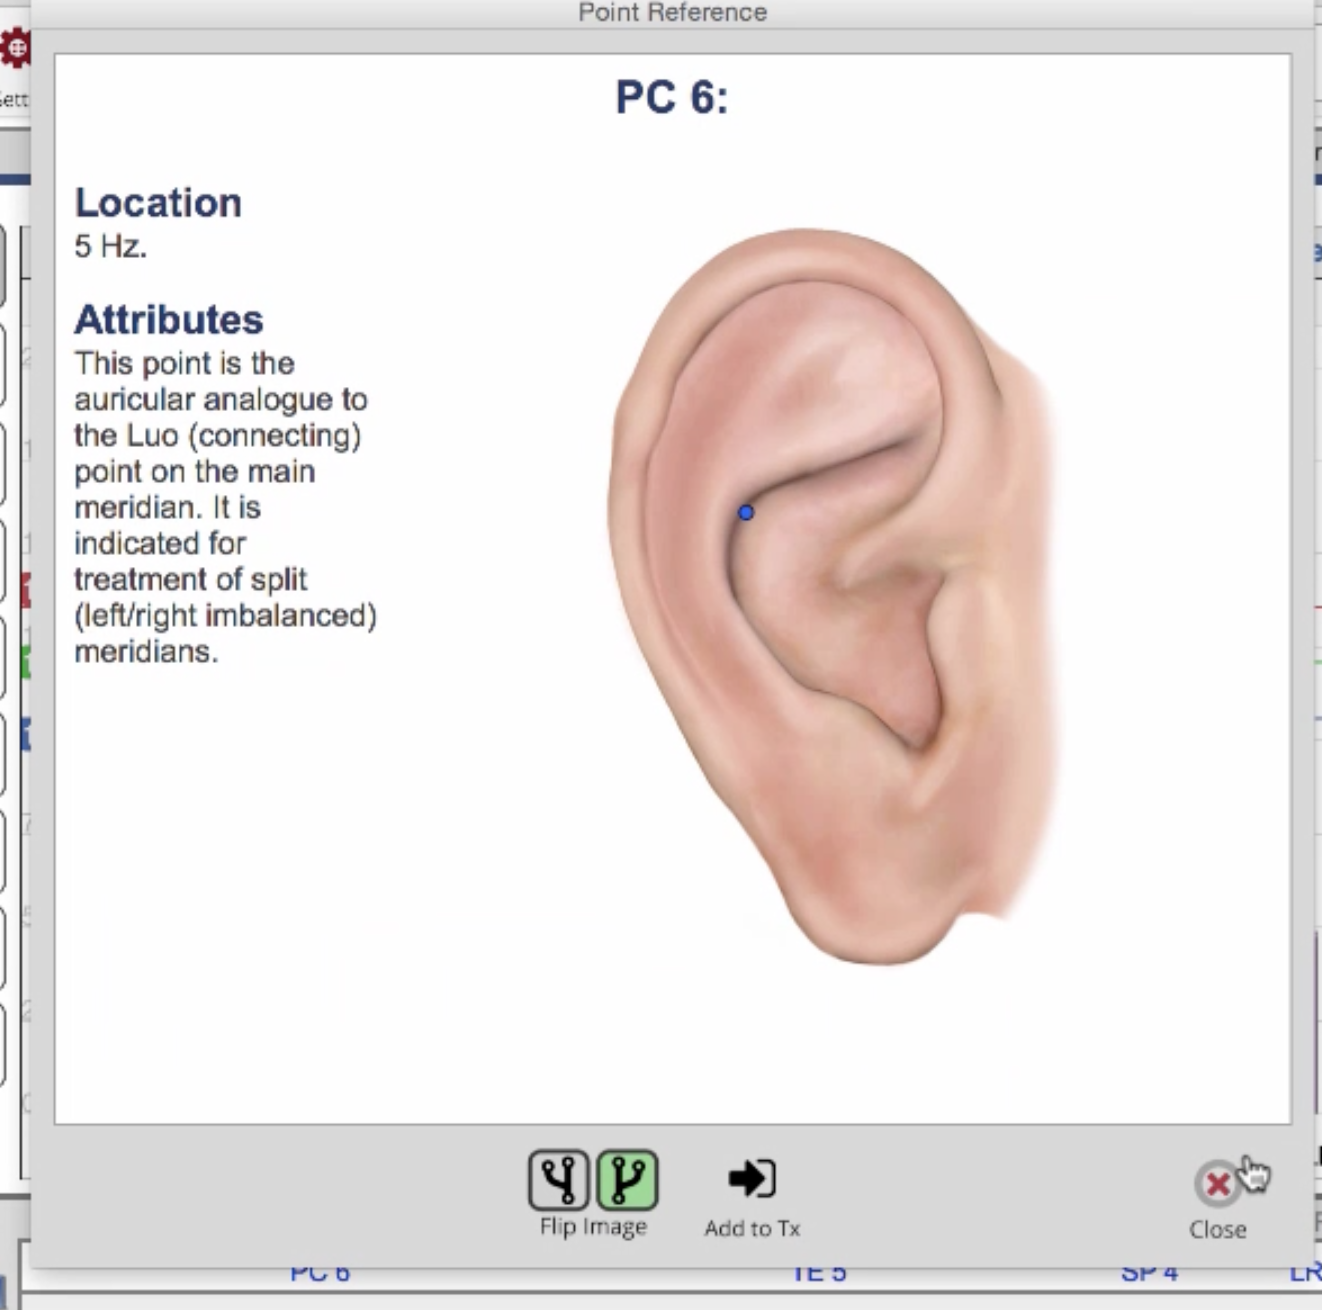
When you have an excessive meridian, then it’s going to recommend the sedation point and when you click the point name, it will show you the information of that point.
When you have deficient meridian it’s going to recommend the tonification point.

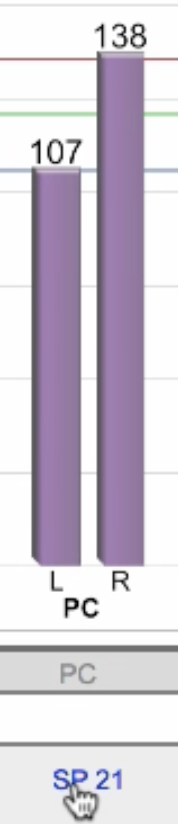
And when you have a split meridian it will show the Lou point. If you have several split meridians it will recommend the Great Lou Point to treat all of the splits at once.
When you are looking at point details for any of the recommended points, you can simply click the “add to treatment plan” icon, shown as Add to Tx.
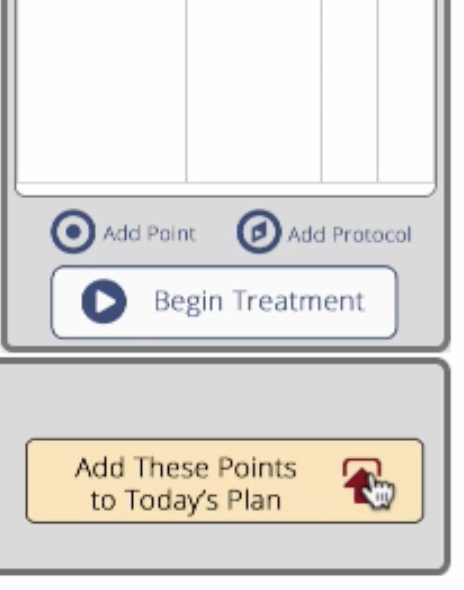
Alternatively, you can simply add all the recommended points by clicking the Add These Points to Today’s Plan icon on the bottom right side of the screen. This will add all the recommended points to the treatment plan for today’s date.
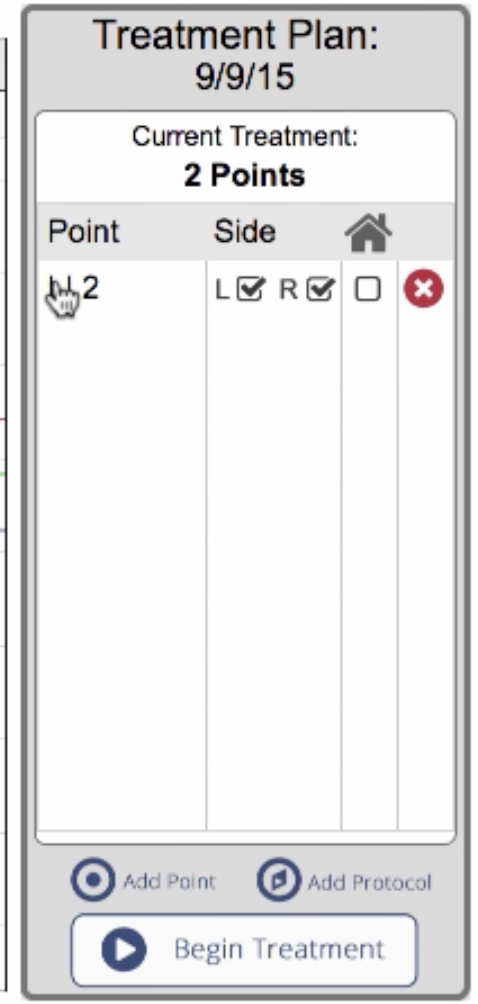
You can customize whether you’re going to treat them right, left, or both by selecting or deselecting the boxes in the “Side” column.
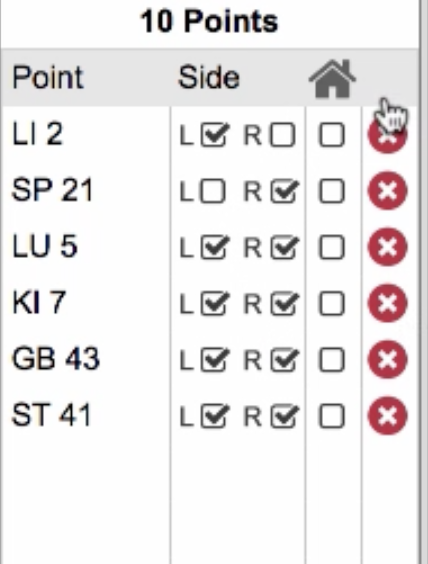
And you can check the box in the column below the house icon to include the point(s) in your home care recommendations for your patient to treat at home.

After you’ve added points to your treatment plan for the day, if you want to remove a point, you can simple click the red X icon.
Advanced Treatment
The next treatment possibility (the icon directly to the right of basic) is the Advanced Treatment. This treatment recommendation looks for ways to effectively reduce the number of points that are needed for treatment. This is accomplished by using the five element relationships between channels, with Shen and Ko cycles, to move the energy around from places of excess into places of deficiency. Instead of treating two points, one for the high channel and another for the low channel, a single point can be used to move the excess energy to the deficient channel.
![]()
Expert Treatment
The Expert Protocol takes treatment a step further by looking back at the patient’s history and older graphs, identifying repeat issues and recommending enhanced points based not only on today’s findings, but on patient results over time.
![]()
Auricular Treatment
AcuGraph 5 also shows some options for Auricular points which can be treated to restore balance. These work the same as basic treatment, but uses ear points. This can be added in addition to body points for stubborn issues that aren’t resolving, or can be used stand-alone for patients or practitioners who prefer auriculotherapy.

Back Shu Treatment
AcuGraph 5 can recommend the Back Shu points for practitioners who prefer treating points along the spine to restore balance in the graph.
![]()
Divergent Channel Treatment
And finally, AcuGraph can recommend an ultra-advanced Divergent Channel protocol. This is a very advanced protocol for practitioners who are using this three dimensional balancing protocol. If you’re not familiar with it, you’ll see that it has some right points and some left points, some points to tonify (red) and some to sedate (blue). This balancing method specifically looks at left-right, front-back, and upper-lower treatments to restore balance for each dimension.
![]()
So, there you have it! AcuGraph has a lot of different protocols, and a lot of different opportunities for you to choose how you want to treat the patient. In the end, you build the treatment plan the way you want, and you incorporate the treatment into localized treatments you will be performing on the patient on each visit.
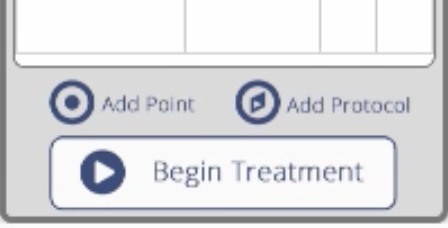
AcuGraph will track all of this for you. For example, let’s suppose along with treating the graph, you also want to add some points for the patient’s symptoms, then simply click Add Point or Add Protocol and select the additional points you will be treating on this patient. You can add these to your treatment plan, which will automatically create the records for you for the treatment.
Now that the treatment plan is all put together for you, go ahead and click Begin Treatment and it shows you the points to treat in your Treatment plan, point by point. This also adds the treatment plan into the day’s notes so that when you go back and look at the records you have a permanent record of what you’ve treated on any given day. This makes it easy to repeat treatments for a patient, or adjust slightly what you’ve done in the past on the new treatment today.
And so there you have it. AcuGraph 5 makes treatment point selection an integrated part of building a treatment plan and record keeping for you. Using this instantly gives you better records and more robust information.
One Reply to “AcuGraph 5 Video Training: Treatment Plan – Points”